|
With school starting up, this is a great way to make some money at local craft shows. Make some earrings (or whatever floats your boat) in your team colors. I’m not suggesting infringing on any trademarks…. just that, if your son’s high school football team colors are blue and gold, well, it couldn’t hurt to offer some jewelry in those colors, when you’re selling at the local fundraiser.

No reason you can’t try a few ideas along those lines, yknow? No copyright infringement, please. Don’t claim that you’re offering official North Kansas City Hornets jewelry – you’re just selling earrings made with purple and gold. Other teams – say, the Dallas Cowboys – might get a little touchy if you say you’re selling their licensed jewelry – without the license. But selling earrings made in montana sapphire (navy blue) and white (crystal) – well those are just going to be pretty. And they certainly don’t need to be licensed.
You see what I mean. It be a great way for your neighbors to learn about your jewelry biz – and a cool way to raise money for the football team!
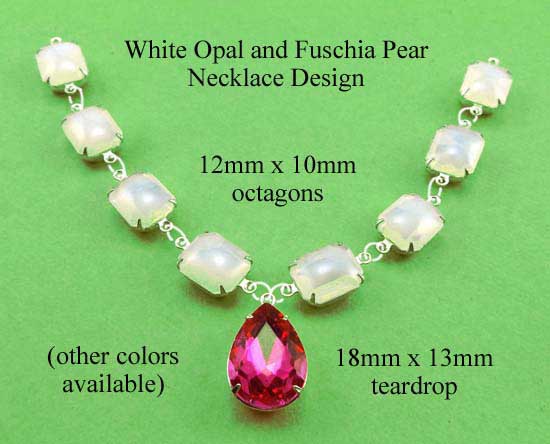
I had featured some fuschia pink bead “triples” several months back see post here – and just recently started playing with fuschia again. Sometimes that rich, bright color is just what you need!

Yes, I love to try new combinations – almost at random. The center design shows simple, small round glass beads hand wired (using inexpensive gold craft wire) to a teardrop bead. None of the colors match. And yet, isn’t it kind of interesting? I thought so. And of course, you could “randomly” choose colors that are just what you need for a special outfit…
That’s the fun of making your own jewelry (and having lots of bits and pieces from previous projects!) You can try stuff. You can create your own look. You don’t have to spend a lot of money.
That’s a win 🙂
I was talking about crystal AB glass beads recently (see post here and realized I hadn’t added my newest style! I am totally in love with these 🙂
They’re wonderful used with other AB beads – make dangling earrings by combining them with teardrops, for example. But they’are also wonderful with any tiny bead or pearl added to the bottom ring – lightweight and comfy and also totally adorable! I’m going to post some examples soon (stay tuned!)
The sparkle and tiny glints of color are so pretty!
I’m trying a little experiment over in my Etsy jewelry supplies shop. I’ve made a listing where you can pick any three pairs of “cushion cut” glass beads or jewels in one listing – and you get to choose the color(s).
I want to see, over say a month’s time, how many times people want three pairs of the same color, or all pastels, or all warm colors, or – well, you get the idea.
And of course I’m offering a little extra incentive – a sale price 🙂
That’s called a win for me, because I learn stuff (and maybe make a few extra sales), and a win for you the customer, because you get just what you want, and you get a really good deal. See? Win!
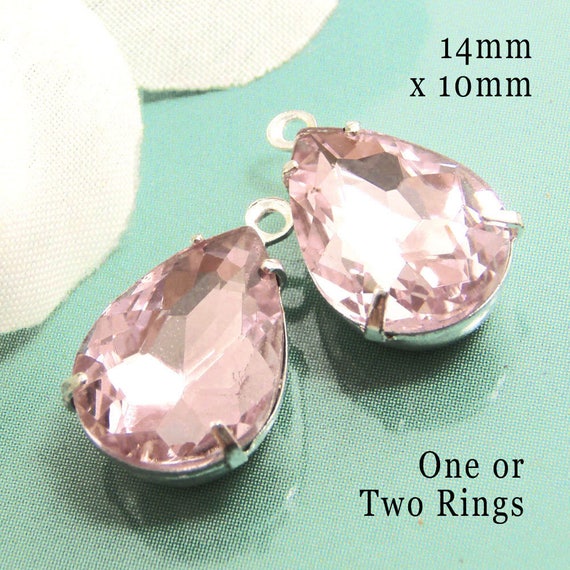
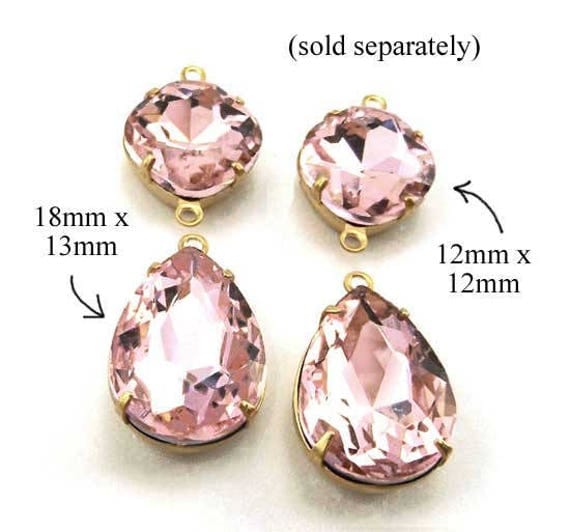
We’re going for simple today. Pink glass beads – cabochon jewels, if you want to be technical about it 🙂 I’m getting more pink jewels in lately – people are wanting them. And it’s such a pretty color!
Use them “as is” with dangling pearls or jewels. Or buy the settings with only one ring, on top of the stone – add earwires and you’re done. Or with no rings at all, you just glue on earring posts – and again, done. A classier pair of stud earrings, you are just not going to find!
Well – you might be looking for other colors, which is totally doable. Check out the other “cushion cut” glass beads in my Etsy shop.
DIY earrings are easy, they’re super affordable, they’re fun, and they will totally match your new outfit. This is a win!
You know I’m a convert to glass cabochons and jewels. I had to learn that good jewelry didn’t have to be made with “precious” gemstones or cost a fortune. This pic below is just another example of how glass jewels can be lovely 🙂
These were jewels that were on my worktable from a couple different projects – and you know how I do sometimes – I just fiddle with different combos. These are all strong colors – golden topaz navettes, peridot green round rivoli jewels, and deep aqua glass octagons. Any of them could be used alone, as is, for earrings or necklace jewels.
And when you put them together? Stunning. Fun. Fab. Easy to make, easy to wear, easy on the wallet. You see what I mean? This is a win 😉
I’ve talked about these adorable sparrow connectors before but I just wanted to take a moment to show you how pretty the golden (raw) brass birds are:
They really do make terrific earring links or dangles – or connectors for your necklace or bracelet. They’re versatile and work with so many styles.
But – small tip – you can also clip off one ring, file the ends gently, and use them “as is” for earrings. Pretty little golden birds, just a touch whimsical, and of course as earrings they go with practically everything. Plus, they’re lightweight and inexpensive. This really is a win!
White jewels are classic for wedding jewelry, of course – and I recently paired these two different styles – and made this super combo 🙂
The opaque white teardrops are vintage glass cabochon jewels made in post-war Japan (talk about “something old” – very cool!) The crystal jewels are new, and the faceting’s clean and modern.
Linked with silver jump rings, these would be fabulous for a bride. Modern, clean, and vintage too? This is a win 🙂
We can’t all wear rubies and sapphres. And – I will say it right here – this doesn’t bother me at all. I’m kinda over feeling the need for Expensive Gemstones. Yes they’re beautiful (when they’re quality). But mostly I love color – and I think a lot of women feel the same way. Glass jewels are beautiful, they’re affordable, and they don’t damage the planet. Not as much as mining gems, anyway. So – glass jewels? A win-win.
Like these:
Used together as shown, wouldn’t those make a terrific pair of earrings? For about one squillionth the cost of “Fine gemstones”.
I don’t need fine gemstones. I want good looking jewelry, that I can make (or you can make), that I can afford, that’s fun to wear.
That’s a win 🙂
The “hangman’s noose” wire wrap is probably the single most useful wire wrap you’ll ever learn. Once you master it (and it’s not hard) you can create professionally secure dangles and connectors with any beads and components.
The wrap is called the “hangman’s noose” (really!) I guess they used the same technique back in the old days, with rope. I’m going to just move from that now…!
I did a simple sketch to illustrate how to make this wrap:
Basically you slip your bead onto a headpin, make a loop around the tip of round-nose pliers, slip the loop onto a chain link, and then wrap the remainder of the headpin around the straight part of the wire. I think – I hope – the drawing makes that clear!
Holler (email me) if it doesn’t! And check YouTube too – there’s handy files there. This drawing is just an extra reference 🙂
|
Jewelry and Accessories
Vintage, Recycled, Upcycled!
|